Cisco CCNA Connecting Switches Together
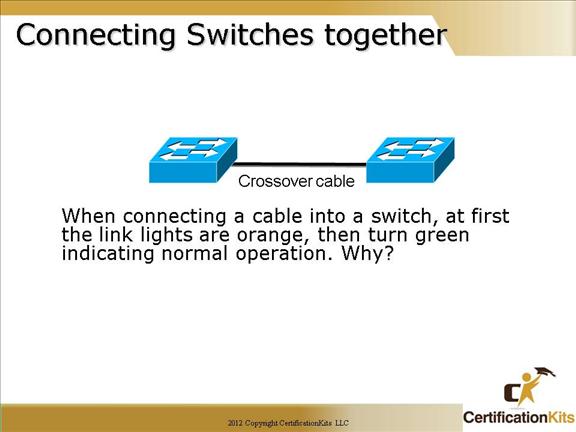
You would use a crossover cable to connect switches together. A crossover cable has the following pins crossed:
1 to 3
2 to 6
3 to 1
6 to 2
The lights turn orange for 50 seconds because of 802.1D Spanning-Tree Protocol (STP), which is covered later in this course. This behavior does depend on the type of switches being interconnected, their speed and duplex settings, and their spanning tree configuration. Care and caution should be exercised when interconnecting switches, as not to introduce loops in the network topology, as well as to limit the broadcast domain and not to substantially oversubscribe the uplink ports.
Cisco CCNA Do switches need an IP Address?
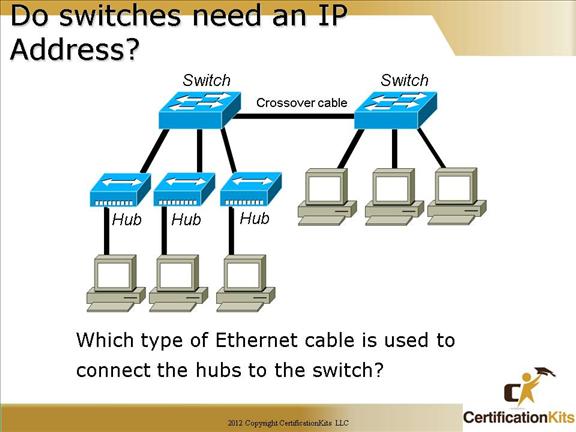
No, switches do not need an IP address. We would add an IP address to a switch only for management purposes and it is configured under the VLAN 1 interface, or the management VLAN – NOT on an interface.
To connect a hub to a switch, you would use a crossover cable.
Why not a straight-through?
Straight-through cables are used to connect hosts and routers to switches.
Cisco CCNA What is the default gateway address for the hosts?
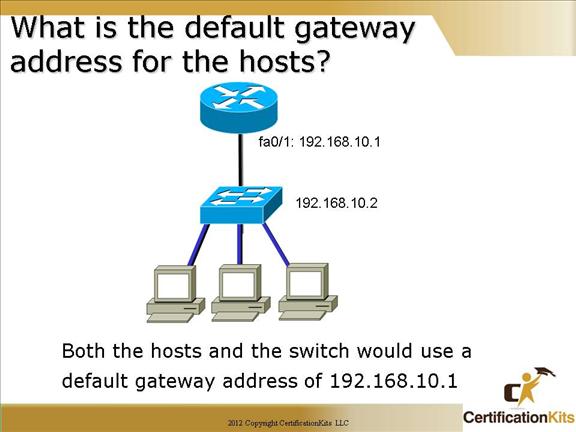
The default gateway address of the hosts (which allows them to send packets out of the local network) is always set to a router or layer 3 network address. The layer 2 switch usually does not perform any routing functions, and would not be able to route the packet if directed to it’s IP address.
The switch, when sending packets out of the local network for management purposes only, needs a default gateway address set to the router as well – just like a host would.
Remember, the IP address and default gateway set on the switch have nothing to do with a host sending packets out of the local network. Think of the switch’s configuration in the same way as any host that does not route traffic. The switch simply breaks up collision domains for the local network and the router is used to connect networks (layer 3 addresses) together.
Cisco CCNA Configuring Switch Identification
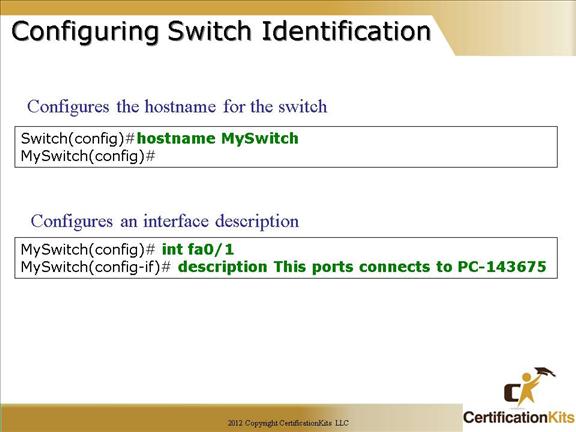
A hostname can be configured on a switch. It is configured from global configuration mode utilizing the “hostname ” command. Upon changing the hostname of a switch you will see the prompt change to contain the newly assigned hostname as depicted in the slide above. The hostname is utilized when building a key for utilizing SSH. The hostname is only locally significant. For ease of management, a description can be placed on each interface. This description can be up to 240 characters. It is configured in interface configuration mode utilizing the “description
Cisco CCNA Configuring the Switch IP Address
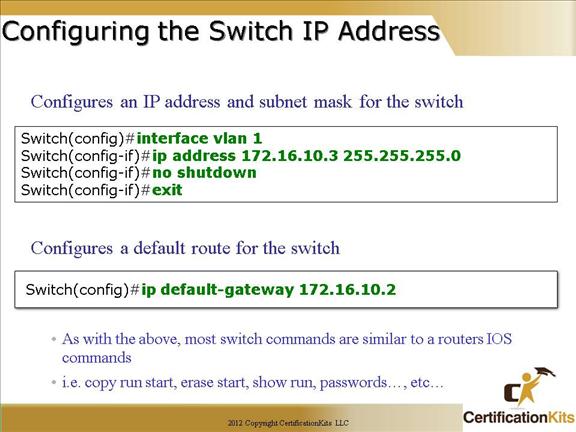
The IP address is configured on switches similar to the way they are configured on routers with the exception that on a layer 2 switch the IP address is configured under a logical VLAN interface versus a physical interface.
Remember that every port on every switch is a member of VLAN1 by default. This really confuses a lot of people—you’d think that you would set an IP address under a switch interface—but no, that’s not where it goes!
Remember that you set an IP address for the switch so you can mange the switch in-band (through the network). You set the “ip default-gateway” command so that you can manage the switch from outside the local network.
Remember to also perform a “no shutdown” under the VLAN interface. Physical switch interfaces are administratively up by default, but not logical VLAN interfaces.
Cisco CCNA Testing your understanding
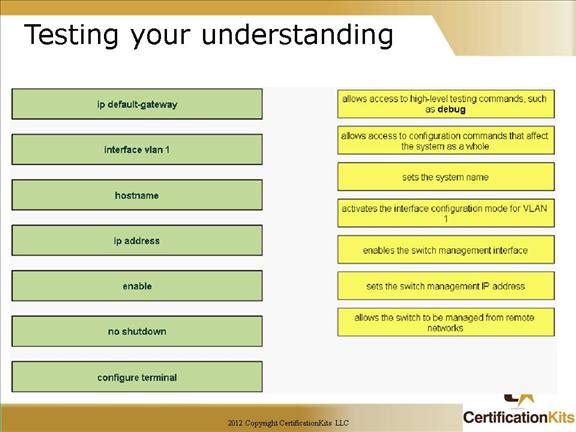
Answers:
ip default-gateway – allows the switch to be managed from remote networks
interface vlan 1 – activates the interface configuration mode for VLAN 1
hostname – sets the system name
ip address – sets the switch management IP address
enable – allows access to high-level testing commands, such as debug
no shutdown – enables the switch management interface
configure terminal – allows access to configuration commands that affect the system as a whole
As is true on routers, Catalyst switches store configurations in NVRAM.
You save the configuration with the “copy running-config startup-config” command, and you can erase the contents of NVRAM with the “erase startup-config” or “write erase” command.
Cisco CCNA Show Running-config
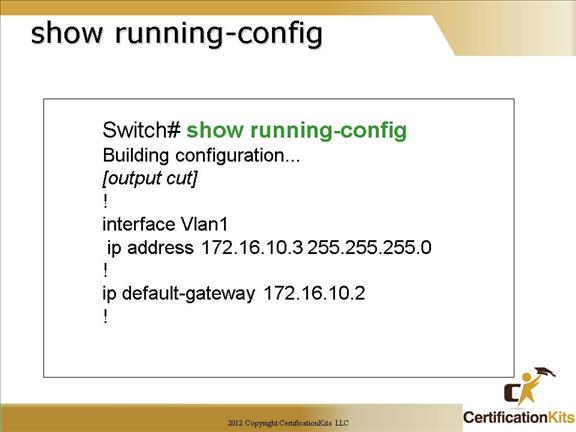
The “show running-config” command displays the active configuration. This is different than the “show startup-config” which shows the configuration stored in NVRAM. Upon performing a “copy running-config startup-config” the two will be in sync until a change is made to the running (active) configuration.
Cisco CCNA Summary
Cisco CCNA Summary